Understand flat metal sheets (FMS) electronic casing manufacturing in 5 minutes.
The Electronic casing manufacturing cost counts for 5% of the total manufacturing cost in an electronic module.
However, it is the only visible part of the electronic modules. Hence, its cosmetic aspect is essential to impact the user positively.
Besides the visual aspect, the casing must protect electronic boards and let the heat circulate and evacuate, avoiding overheating risks.
This guide will help you understand the different manufacturing steps of these critical parts of electronic equipment.
Raw materials
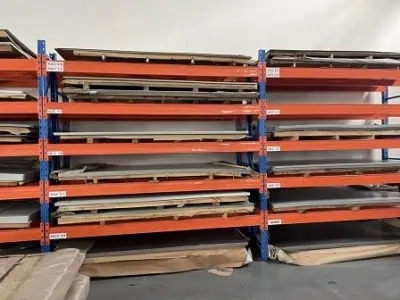
The flat metal sheets (FMS) are bought directly from Metal sheets mills or resellers. They are either precut as sheets of standard dimensions or rolled-in coils to be cut further according to the required length.
The standard dimensions are in millimeters with sheet thickness between 0.8 to 3mm, sheet width between 1000 to 1500 mm, and lengths between 2000 to 4000 mm.
The most used materials for electronic casings are :
- Aluminum
- Stainless steel
- Cold-rolled steel
- Galvanized steel
- Electrogalvanized steel
- Aluminized zinc steel
Cutting/Punching
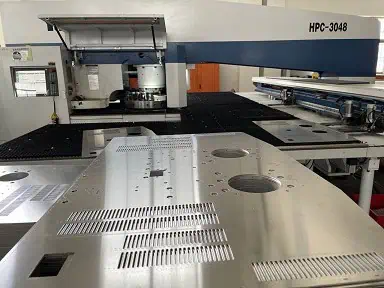
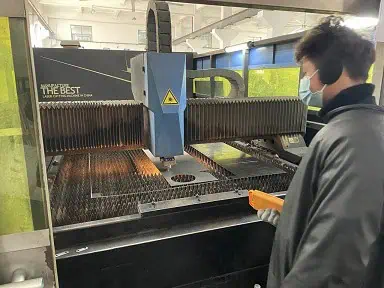
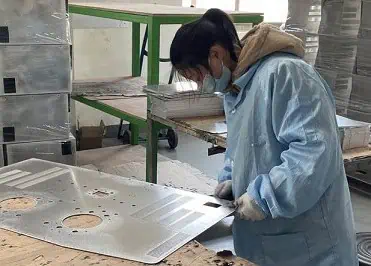
Once the suitable FMS is selected, it must be cut according to the external dimensions of the final part. Openings will also be cut on the sheet for the future screw through holes and air vents.
The most common process used to cut metal sheets to shape is laser cutting, and cut openings can also be done by laser cutting. Yet, the punching machine may be used for repetitive openings and some specific portions cuts. It offers a quick execution speed and requires less maintenance than laser machines. The disadvantage of the punching machines is that they need a particular cutting tool for each cutting shape and produce sharper cutting edges.
Insert crimping
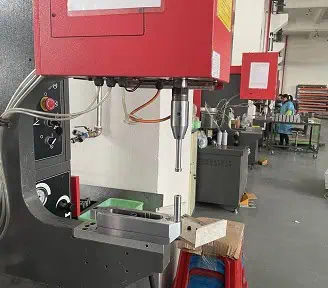
Putting inserts on the metal sheets is the most common way to link metal casings and electronic parts. As the small thickness of the metal sheets doesn’t permit to machine a thread directly, inserts enable screwing on the parts. Inserts are standardized, made with different materials, and produced by specialized companies like PEM or Inserco.
Bending
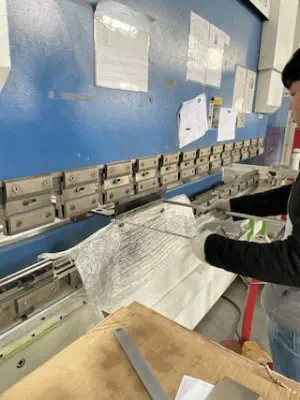
After the cutting and punching are done, bending will give its global shape to the part. Specific bending press, made of two jaws, are used to bend the part to shape. The upper jaw has awls or upsidedown V shapes, looking like blades, and the lower jaw has a V or a V-shaped concave die. The V and upsidedown V shapes will define the bending shape and angle. The sheet introduction into the press is generally manually done. The operator’s experience is then essential for good bending quality.
Preventing scratches on the sheets during the bending can be done by protecting the Vs with softer materials than bent sheets such as foam, cooper, or cloth fabric.
According to its complexity, a part realization may need several bendings.
Deburring
Deburring sharp edges is essential to prevent injuries and improve the aspect of the parts. The deburring is done with polishing and manual cutting tools.
Surface finishing
Applying the surface treatment (galvanization, zinc, Alu-zinc) on the raw metal sheets before cutting and bending is a cheaper option. However, the painting must be done at the end, as the manufacturing operations may damage the paint.
The metal sheet painting follows the following process :
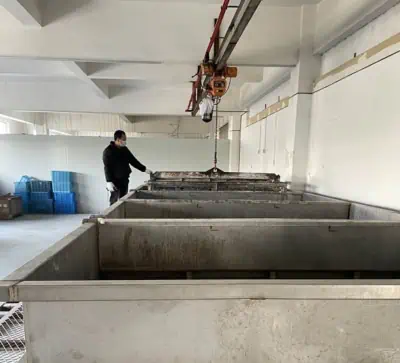
- Clean and passivate the parts in chemical baths.
- Apply protective tape on the areas meant not to be treated.
- Sliding rail: Hang the parts on the painting line’s conveyor belt hooks.
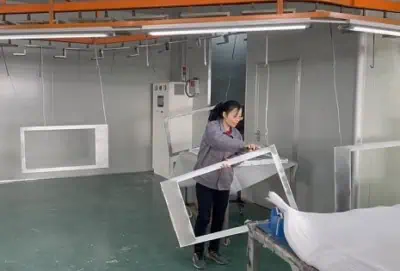
- Apply the painting.
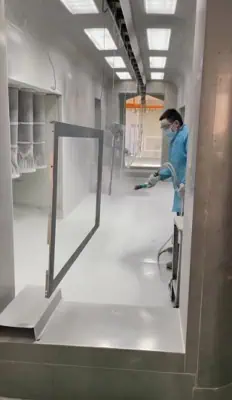
- Remove the unnecessary paint with pressurized air.
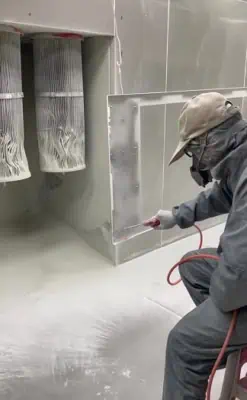
- Drying of the paint.
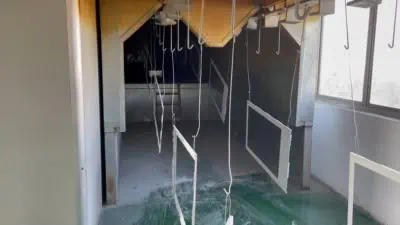
- Unhook the parts.
- Inspection and finishing.
- Optional step: Silkscreen marking.
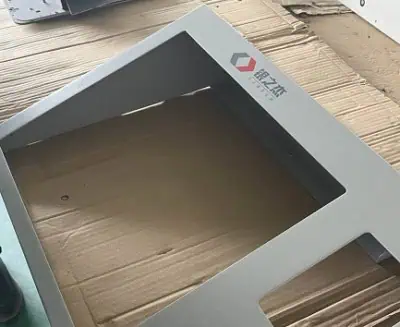
The quality, the color, and the paint all depend on the powder, painting applications parameters (temperature, pressure, number of layers), and the painter’s experience.
